For the latest installment see: Building a High-Resolution Multitouch Wall (Part 4). (Update 9/7/12: You might want checkout the Presenter Touch Wall, a 65″ multitouch wall built for public spaces.)
We’ve made a great deal of progress since our last blog post on the multitouch wall project (see: Building a Multitouch Wall (Part 2)). The big news is that we’ve completed an illumination test and the image looks really great! The exhibit is using dVision 35 WQXGA XB LED projectors by Digital Projection. These awesome, short throw projectors have a resolution of 2560 x 1600. The combined resolution of the round 7-foot, multitouch wall will be better than HD at 2560 x 2560.
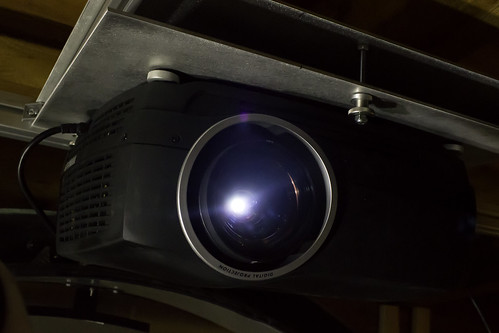
To mount these two projectors, we designed custom, adjustable projector mounts out of aluminum. These mounts –along with the cameras and first-surface mirrors– connect to the aluminum rigging we designed (mentioned in the last installment). All of these pieces need to fit and work within a tight 3 foot space!
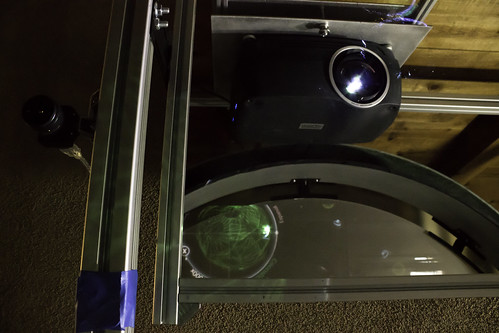
In the last blog post, I mentioned that we are using 10mm haptic tempered glass fronting a piece of acrylic with projection material that will go directly behind it. The acrylic is from Draper it is 1/4″ Cine 13 Optical Coating it has a dark grey tint. Locating 84″ of projection material that was seamless, was one of the challenges we faced in developing this exhibit.
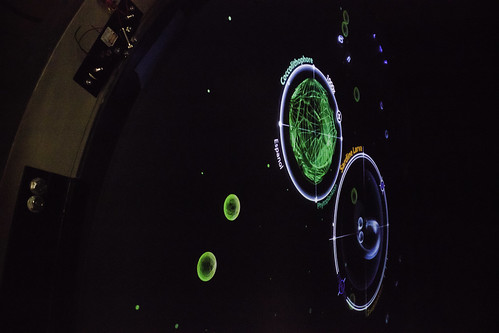
For our illumination test we displayed an early version of the software. The exhibit will allow visitors to “touch” plankton and learn more about them. As I mentioned in a previous post, this exhibit is going to be installed in a major North American aquarium. (We have received permission from them to share the development process as long as we don’t divulge their name.)
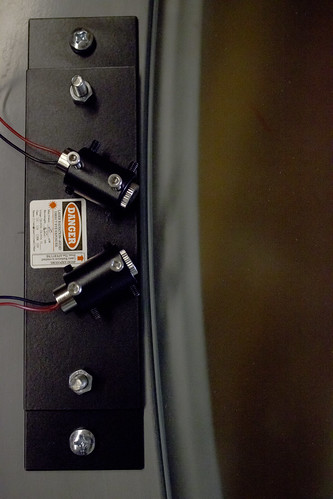
Finally, we have designed and fabricated all of the laser mounts for the outside wall. The image above shows a close-up. There are 8 laser mounts with a total of 16 lasers creating two interlaced grids. The lasers are 5mW, similar in power to a laser pointer. These lasers will be used to track visitors fingers and hands as they interact with the wall (it is a method called Laser Light Plane (LLP). This application of LLP is completely safe; along with the low power, these laser will not come in contact with visitor’s eyes. A metal flange will completely cover the laser mounts.
In our next installment we will show you how we are blending the two high-resolution images together. To see the previous steps in the process check out: Building a High-Resolution Multitouch Wall Part 1 & Part 2.
Recent Posts

Building an Interactive Video Wall
Our most ambitious technical project of 2016 was the DinoStomp 3D interactive video wall that we developed with the Fort Worth Museum of Science and History. The DinoStomp exhibit consists of a video wall 8’ high and…


Bluebeam Revu on Ideum Drafting Multitouch Tables
Increasingly, new applications designed specifically for large touch displays are becoming available. This is the second in our series of videos showing software packages that work great with our hardware. This time we focus on Bluebeam Revu, a…


Redesigned Touch Tables & Displays in 2016
Our goals for 2016 were simple: incorporate new touch technology, provide more choices for our hardware customers, and improve our entire line of multitouch tables and touch walls. As with most creative endeavors,…
